39 how to print labels on cricut explore air 2
Print then Cut Stickers with the Cricut Explore Air 2 Next add type and change the color and change that to a write layer as well. Arrange your different pieces onto the sticker. Finally, select all the pieces of your sticker and choose Attach. This makes all of the pieces of the sticker into 1 file. Choose edit and change the size to 1.5 inch. Click Go and change the number to 20 and click apply. Online Labels® Sticker Paper Cut Settings for Cricut Explore Air Our expert crafters have hand-tested the Cricut Explore Air™ with OnlineLabels sticker paper to bring you the exact cut settings for each material. Continue to the chart below to find the cut settings for kiss cut and full cut stickers. Materials were tested on a Cricut Explore Air with the fine-point blade.
Address Labels with Cricut - Crafting in the Rain Print then cut address labels. Start by creating a rectangle that's 2.8 inches wide by .8 inches tall. Type 3 separate text lines. The first is your name. The second and third are your address. By keeping them as separate lines, they will be easier to space properly. Choose a font for your name. Feel free to make your name a different font ...

How to print labels on cricut explore air 2
How to Make Vinyl Labels with a Cricut Cutting Machine Step 1- Gather your supplies for making vinyl labels. Cricut Explore Air 2 Cutting Mat Cricut Premium Vinyl (I used teal.) Weeder and Scraper Tools Transfer Tape Label Project in Cricut Design Space Step 2- Create your design. If you are using a Cricut machine, you can find my exact project in Cricut Design Space here. Making Return Address Labels with your Cricut Explore - Mean Right Hook 1. First draw a square 2. Unlock it to make it a rectangle. I made mine 3.5 X 1 (I will say these are a little big, next time I'll make them more like 2.5 x 1) 3. Then write out your last name in the font of your choice. I picked Pilgi from my system fonts. 4. Select both your name layer and the rectangle layer, then weld them together 5. How to Make Stickers Using Cricut Explore Air 2 - SugaBaby Co Cricut Explore Air 2. Sticker Paper. Color Printer. Light Grip Mat. Step 1. Upload your image from external source via PNG file or create an image in Cricut design space. (We love to choose images included with the Cricut subscription) Select the chosen image and add an OFFSET (found in the upper tool bar of design space).
How to print labels on cricut explore air 2. How to make Magnets with Cricut Explore Air 2 and Cricut Maker A lot of people have asked if Cricut Maker can cut magnet sheets and magnet. The answer is yes! You can cut magnetic sheets with Cricut Maker using the fine point blade. Make sure your magnetic sheets are less than 2mm for the best results. How to Write on Tags & Labels With Cricut Pens With a (gold) pen inserted into slot A on your machine (I used the 2.0 weight ), load your template back into the machine and hit the flashing Cricut button. The machine will then re-cut your single "registration" mark (the upper left square) and then proceed to write directly onto your pre-cut items! How to Make Labels with a Cricut | The DIY Mommy - YouTube Learn how to make DIY vinyl labels with Cricut for organizing your home or labeling handmade products! Subscribe to my channel for more DIYs: ... 3 Creative Ways to Make Labels with a Cricut - The Homes I Have Made Underwhelmed by my options, I came home and decided to use what I already had, but in new ways! I ultimately came up with three different ideas for making labels with a Cricut…all using a combination of paper, tape, wallpaper and vinyl. Because my containers are different sizes (square versus horizontal) and textures (plastic versus fabric ...
How to Make Product Labels using Cricut Explore Air 2 #cricutmade ⭐️ SHOP CRICUT EXPLORE AIR 2 - video is sponsored by Cricut☁️How to design and make labels waterproof - ... HOW TO MAKE LABELS WITH CRICUT | PANTRY LABELS - YouTube #diylabels #cricutexploreair2 #howtomakelabelsWelcome to my channel! This video I am going to show you how I make my own labels using my cricut explore air 2... Making Labels with the Cricut Joy for Home Organization Once you have your label shape ready to go, it's time to put in text and/or images! For text, create a new text box. Go up to the font panel and under "filter" select "writing". This will automatically make the font show up as a writing font. You must make it writing! In the upper design panel, with your font selected, change the line type to draw. How to make labels with Cricut Nov 02, 2021 · Make labels with Cricut Step 1 To design from scratch, click “New Project” on the home page of Cricut Design Space. Step 2 Once on the canvas, on the left-hand navigation bar, you’ll see an option for “Images.” Step 3 Click that button. You’ll now be able to search in the Cricut image library!
How To Make Stickers Using Cricut Explore Air 2 + Canva The next step is the most important to make sure your file is cut correctly! Select BOTH the background and the stickers at the same time, and in the right-hand panel, click the "Attach" button. You do NOT need to group the layers — just click "Attach!". That will make sure your sticker sheet is cut the right way. PDF How to make labels on cricut explore air 2 It's similar to the Cricut Explore Air 2, but has a few added capabilities. The biggest differences between Cricut Explore 3 and Cricut Explore Air 2 (see details below) is that Cricut Explore 3 can cut "matless" Cricut Smart Materials, meaning you are not limited to the length of a cutting mat. How To Use Cricut Print Then Cut / DIY Labels and Stickers Hi guys! In today's video you will see how easy is it to use Cricut's print then cut feature to make labels. I use it today to make some labels for strawberr... how to use pen on cricut air 2 - The Blue Monkey Restaurant & Pizzeria To write with your Cricut machine, create a text box and select a font and color for your writing. Choose filters in the design space to program your Cricut to write. Preview your writing using the "Make It" button, insert your Cricut pens, and watch as your Cricut maker writes your desired text by pressing "Go."
How to Easily Apply Cricut Foil on Printable Vinyl! - Leap of Faith Crafting
How to Make a Craft Supplies Organizer - The Country Chic Cottage Click flatten in the lower right-hand corner to make this a print then cut label and it is ready for your machine! Be sure to delete any labels you don't want to use before continuing. Step 3: Making Printable Decorative Labels with Print Then Cut Now it is time to use print then cut to actually make our printable labels.
Cricut Explore Air Discounts- Save on Machines, Easy Press, Explore Air 2 & more! - Thrifty NW Mom
How to Make Stickers with Cricut Explore Air 2 | Print On ... And what if we show you how to get your stickers made, all by yourself, using the wonderful die-cutting machine, Cricut Explore Air 2? All you need is to: 1. Go to the Cricut Design Space App and open a new canvas 2. Upload your saved sticker file, adjust the paper's size and print it 3.

#Silhouette #projects #ideas #craft 50 Best Ideas for craft projects to sell silhouette cameobrp ...
3 Ways To Make Labels With Your Cricut - YouTube It's a lot easier than you may think, and in this video, Rachel shows three different ways you can make labels with your Cricut. From drawing to print then cut, labels can be made easily and with...

How To Print Stickers On Cricut Explore Air 2 - RSTIKE
How to Make Stickers and Labels with a Cricut Machine Just follow along with the video below to learn how to make your own stickers in the Cricut Design Space. Note that actually printed and cut 2 for myself because I have 2 bottles of this DIY bug spray and needed 2 labels. If you want multiple copies of the same sticker/label, just copy your design once you have flattened it and paste it.

EASY DIY PANTRY LABELS WITH YOUR CRICUT | EVERYDAY JENNY
DIY Custom Water Bottle Labels with Cricut Print then Cut. Any color printer {If you do not have a printer, you can send to print and return to cut with your Cricut machine} Cutting mat [ blue or green] Tape measure to measure the water bottles. Waterproof glossy sticker paper. Matte sticker paper. Photo paper 30 or 32Lb . [If you use photo paper you will need a hot glue gun }.
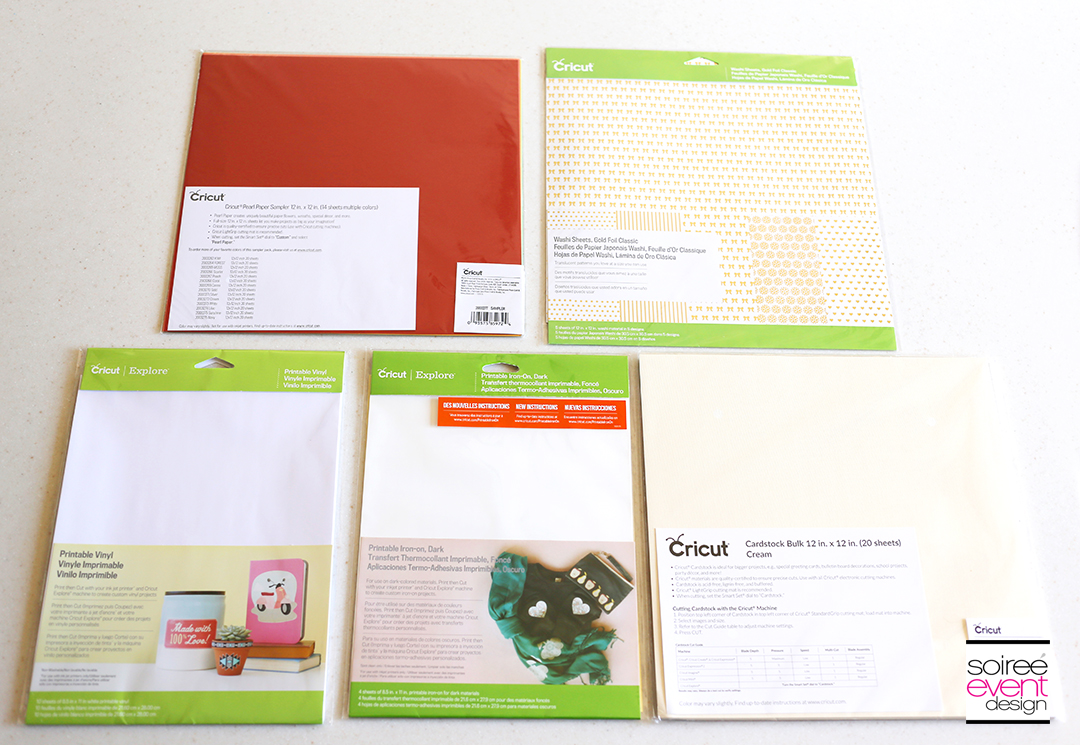
My First Project with the Cricut Explore Air™ 2 - Soiree Event Design
Print & Cut Label Tutorial in Cricut Design Space Take the printed page with the black border and place it on your mat. Load it in the machine with the "arrow" button, and Press the "C" button to start the print and cut. When the images are cut, remove the mat and you will have beautiful stickers. Please let me know if you have any questions or if one of the steps is not clear.

New Denim Cricut Explore Air 2 Bundle + 20 Ways It Can Make Your Life Easier - Tastefully Frugal
Print Then Cut: How To Make DIY Stickers With Cricut Explore Air 2 Then, under Fill on the toolbar, change the selection from No Fill to Print (see screenshot below). The hard outline of the image will disappear. Now click on the question mark next to where it now reads Print. This will allow you to select either a color or pattern to fill your design with… Under Print type, select Pattern.

Cricut Crazy Scrapper: thank you cards
Using the Print then Cut Feature with Cricut Explore Air 2 Plus FREE ... You will be prompted by your printer to select print. Place your printed paper on the cutting mat and load into the machine. Make sure your dial is set to the appropriate material. Press the Cricut logo on the machine to start cutting. Press the double arrow button to unload once cutting is complete
What Can I Make with My Cricut Explore Air 2? - Happy-Go-Lucky
How to Make Stickers Using Cricut Explore Air 2 - SugaBaby Co Cricut Explore Air 2. Sticker Paper. Color Printer. Light Grip Mat. Step 1. Upload your image from external source via PNG file or create an image in Cricut design space. (We love to choose images included with the Cricut subscription) Select the chosen image and add an OFFSET (found in the upper tool bar of design space).

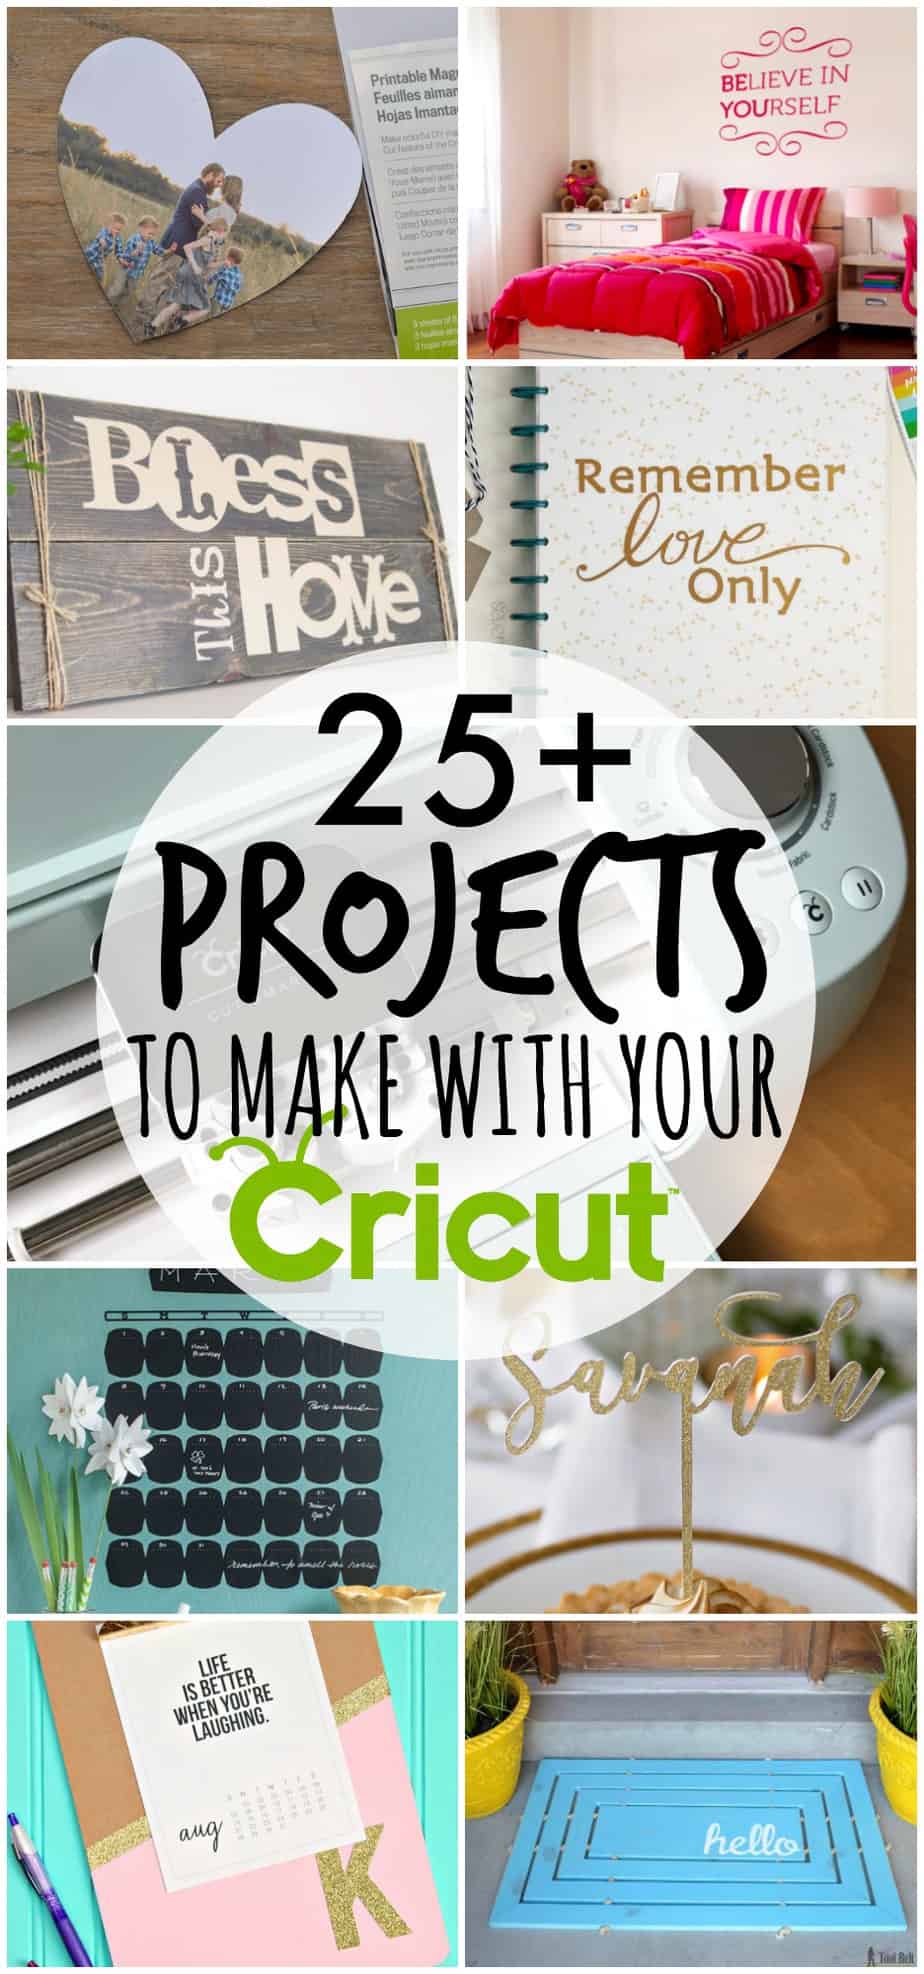
30 Home Decor Projects You Can Make With a Cricut Explore | The Homes I Have Made
Making Return Address Labels with your Cricut Explore - Mean Right Hook 1. First draw a square 2. Unlock it to make it a rectangle. I made mine 3.5 X 1 (I will say these are a little big, next time I'll make them more like 2.5 x 1) 3. Then write out your last name in the font of your choice. I picked Pilgi from my system fonts. 4. Select both your name layer and the rectangle layer, then weld them together 5.
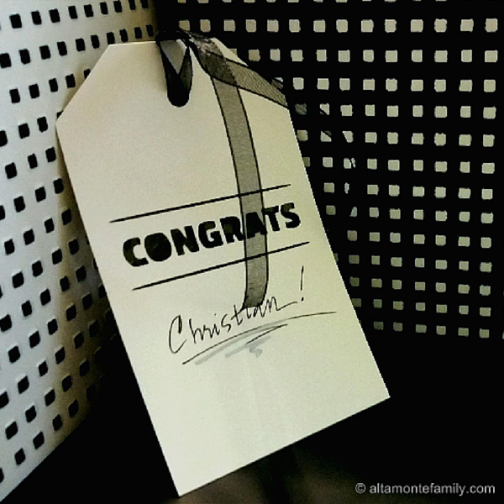
Cricut Explore Air Review - 3 Months Later | Altamonte Family
How to Make Vinyl Labels with a Cricut Cutting Machine Step 1- Gather your supplies for making vinyl labels. Cricut Explore Air 2 Cutting Mat Cricut Premium Vinyl (I used teal.) Weeder and Scraper Tools Transfer Tape Label Project in Cricut Design Space Step 2- Create your design. If you are using a Cricut machine, you can find my exact project in Cricut Design Space here.

Cricut Explore Air 2 | Cricut Learn

These Mini Wedding Tissue Boxes Are A MUST Make DIY Project!

What Can I Make with My Cricut Explore Air 2? - Happy-Go-Lucky

Best Cricut For Teachers (2020): Which is the Best Cricut For Your Classroom? - Compare Before ...
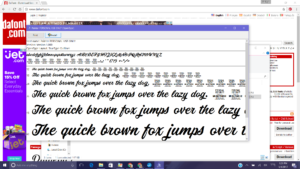
Cricut Explore Air- Free Fonts - Glitter and Graze
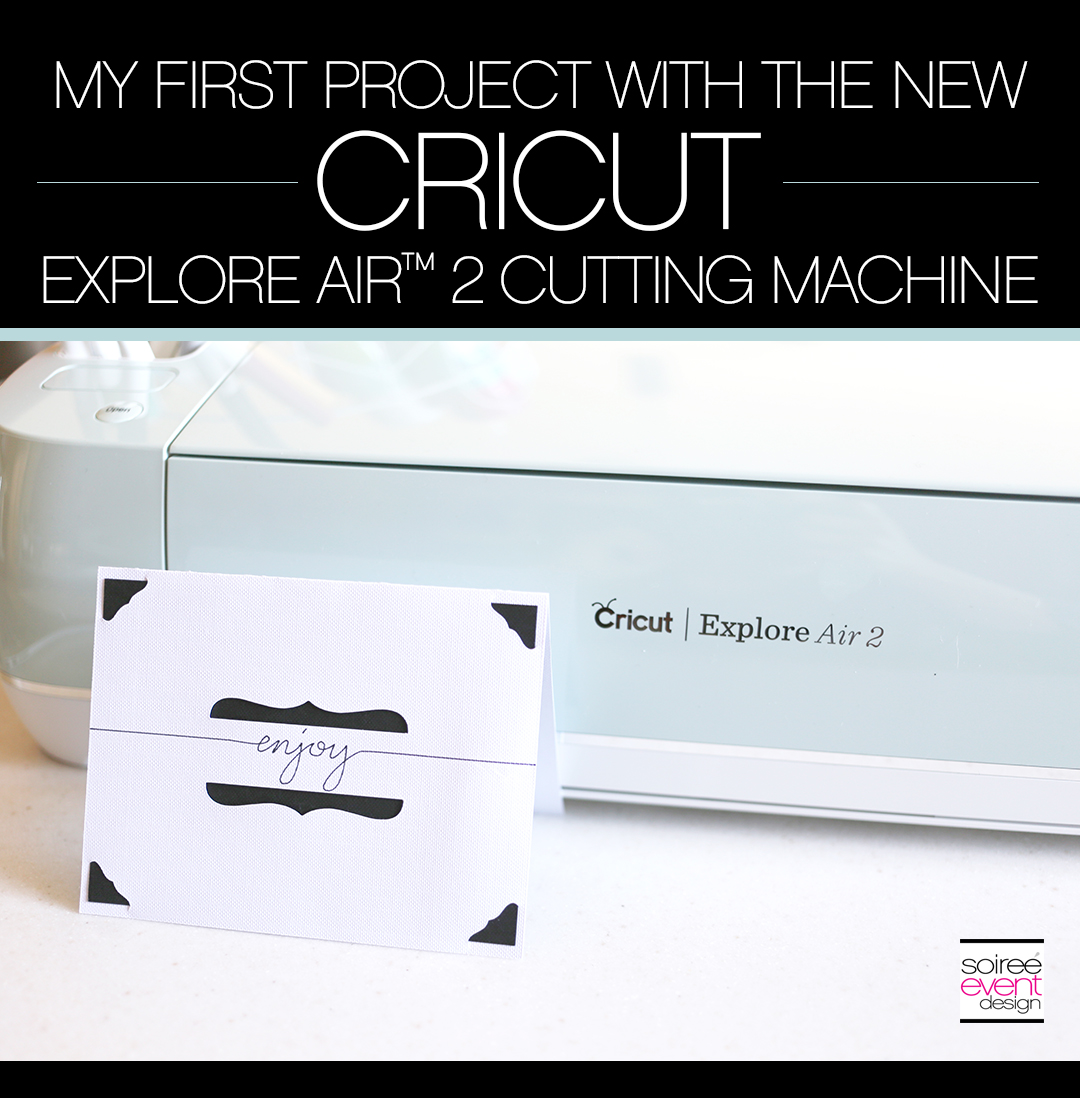
My First Project with the Cricut Explore Air™ 2 - Soiree Event Design

How To Print Stickers On Cricut Explore Air 2 - RSTIKE
Post a Comment for "39 how to print labels on cricut explore air 2"